How to install Invoice Ninja with Laravel Forge
Invoice Ninja is a great choice if you're looking for some simple invoicing software as a freelancer or a small business owner. If you host it yourself, it's also a lot cheaper than other alternatives!
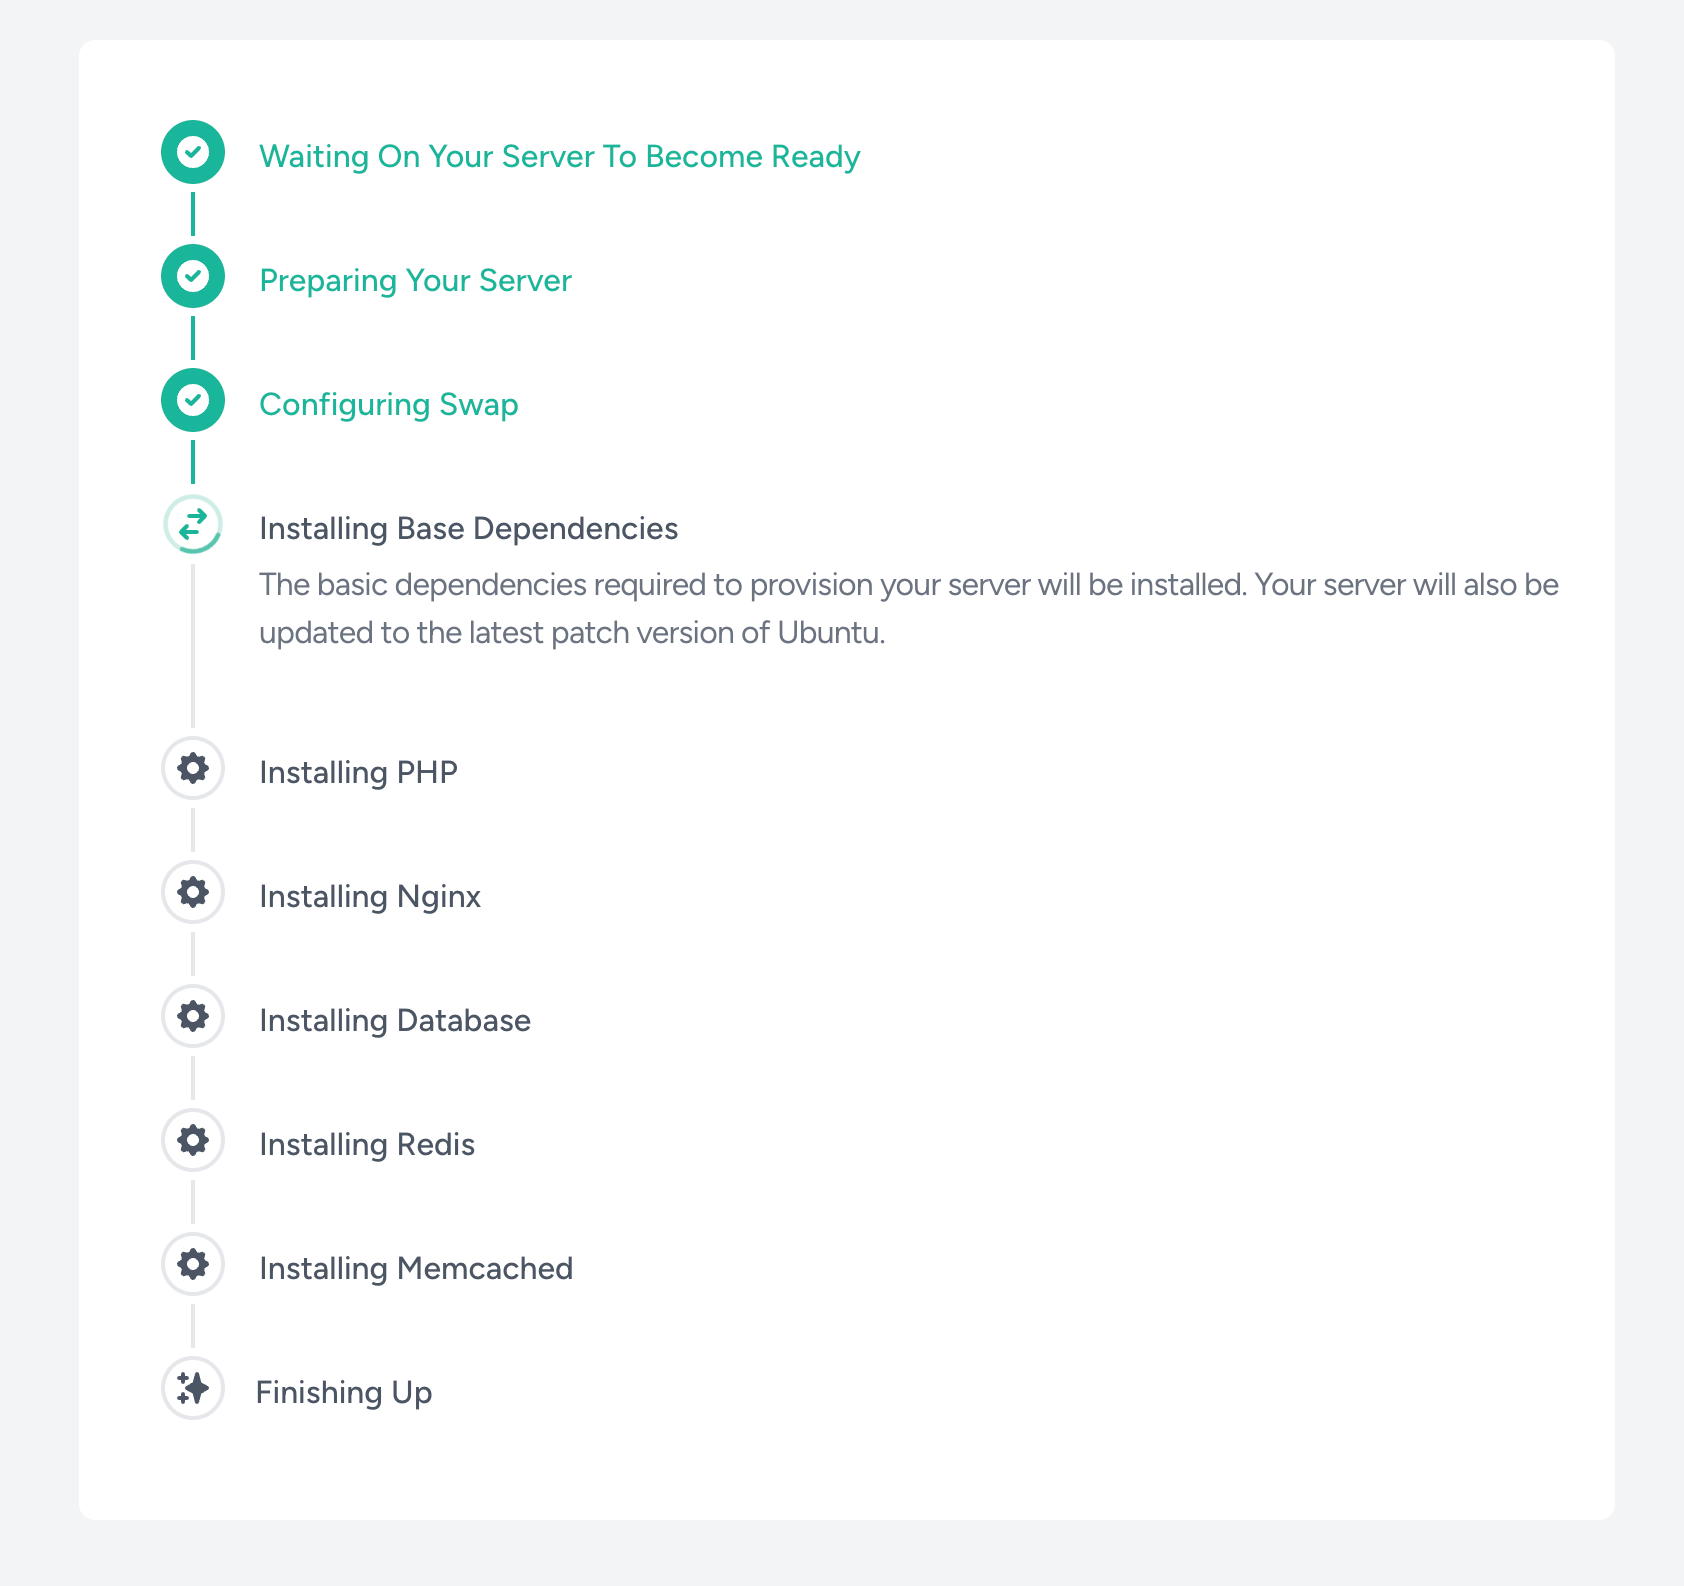
Server provisioning
Create a new server on Laravel Forge and choose the 'App Server' type. This will install PHP, Nginx and a MySQL database. Everything you need to get started with Invoice Ninja!
While the provisioning is running, you can point your (sub)domain to the IP of the new server.
Creating a new site
When the provisioning is done, create a new site and choose the default type (PHP / Laravel / Symfony).
You can also delete the default site.
Generate an SSL certificate
Click on your site in Laravel Forge, choose SSL > Let's Encrypt > Obtain certificate. You'll need to make sure that your domain is pointing to the server before doing this step. Use https://www.whatsmydns.net/ to check if the DNS propagation has finished.
Creating the database
Go to your Laravel Forge server and create a new database. Save the password somewhere temporary in your clipboard or notepad.
Downloading Invoice Ninja
SSH into your server and cd into the folder of the site you just created. Remove everything in this folder (even the 'public' folder).
rm -r *Remove all the files and folders in the site folder.
Now we need to use wget to download the latest invoiceninja.zip file. You can find the latest version here: https://github.com/invoiceninja/invoiceninja/releases
Right click on the latest version of the invoiceninja.zip file and copy the address.
wget https://github.com/invoiceninja/invoiceninja/releases/download/v5.9.1/invoiceninja.zipMake sure to use the latest version
Now it's time to unzip:
unzip invoiceninja.zipAfter the unzip is complete, we can remove the zip file
rm invoiceninja.zipCopy the .env.example file to a new .env file:
cp .env.example .envYou don't have to update the .env file manually, the setup will take care of that.
Now we need to make sure that the forge user has read/write permissions for all the files in the site folder.
chown -R forge:forge /home/forge/<your-site-name>Running the setup
Navigate with your favorite browser to the domain, followed by /setup.
Fill out all the fields.
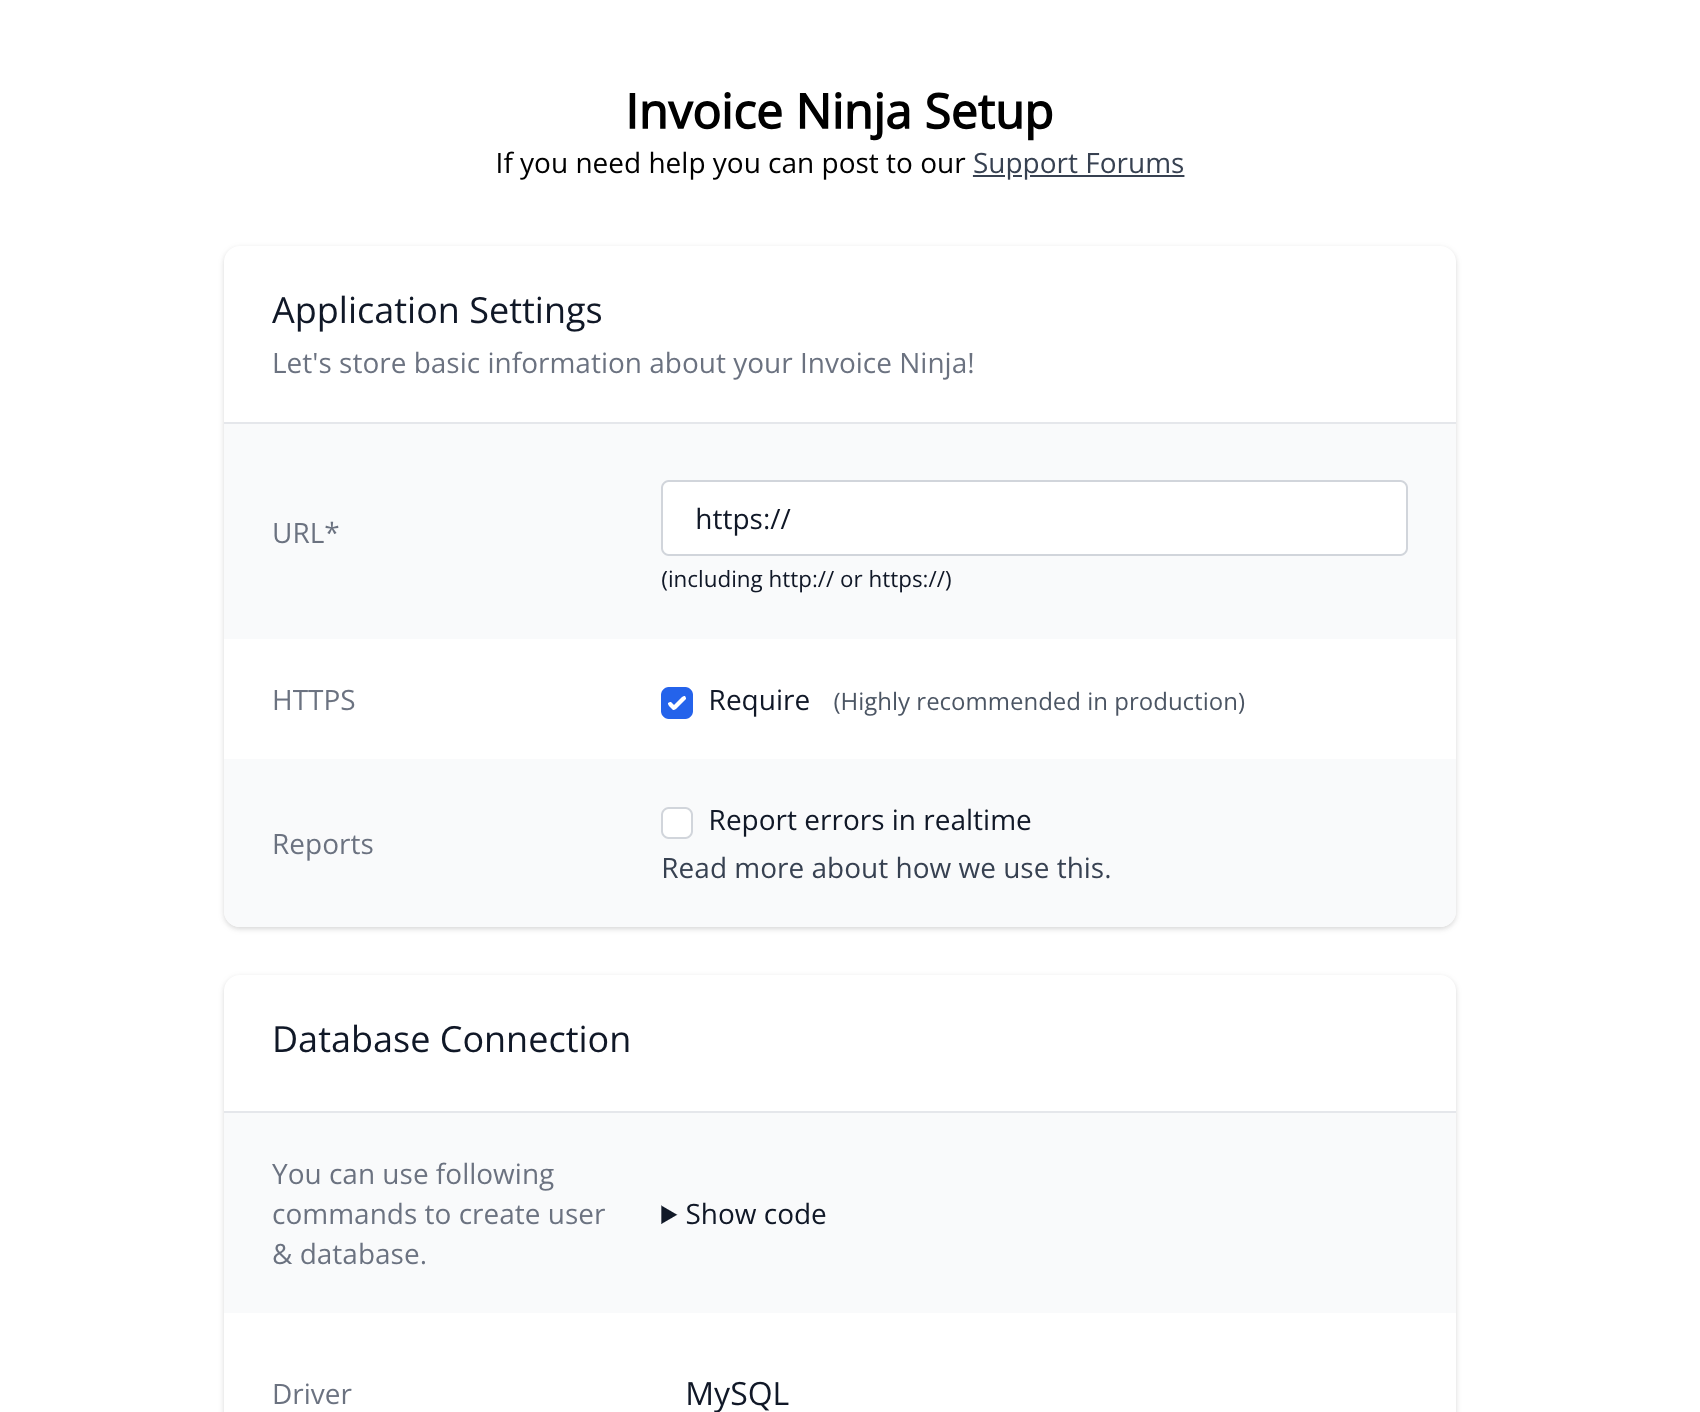
Test the connection. If it succeeded, proceed by creating the first account.
Click Submit and let the installation finish. This can take a while, so don't refresh the page and just let it run until you're redirected to the /login page.
Some additional security
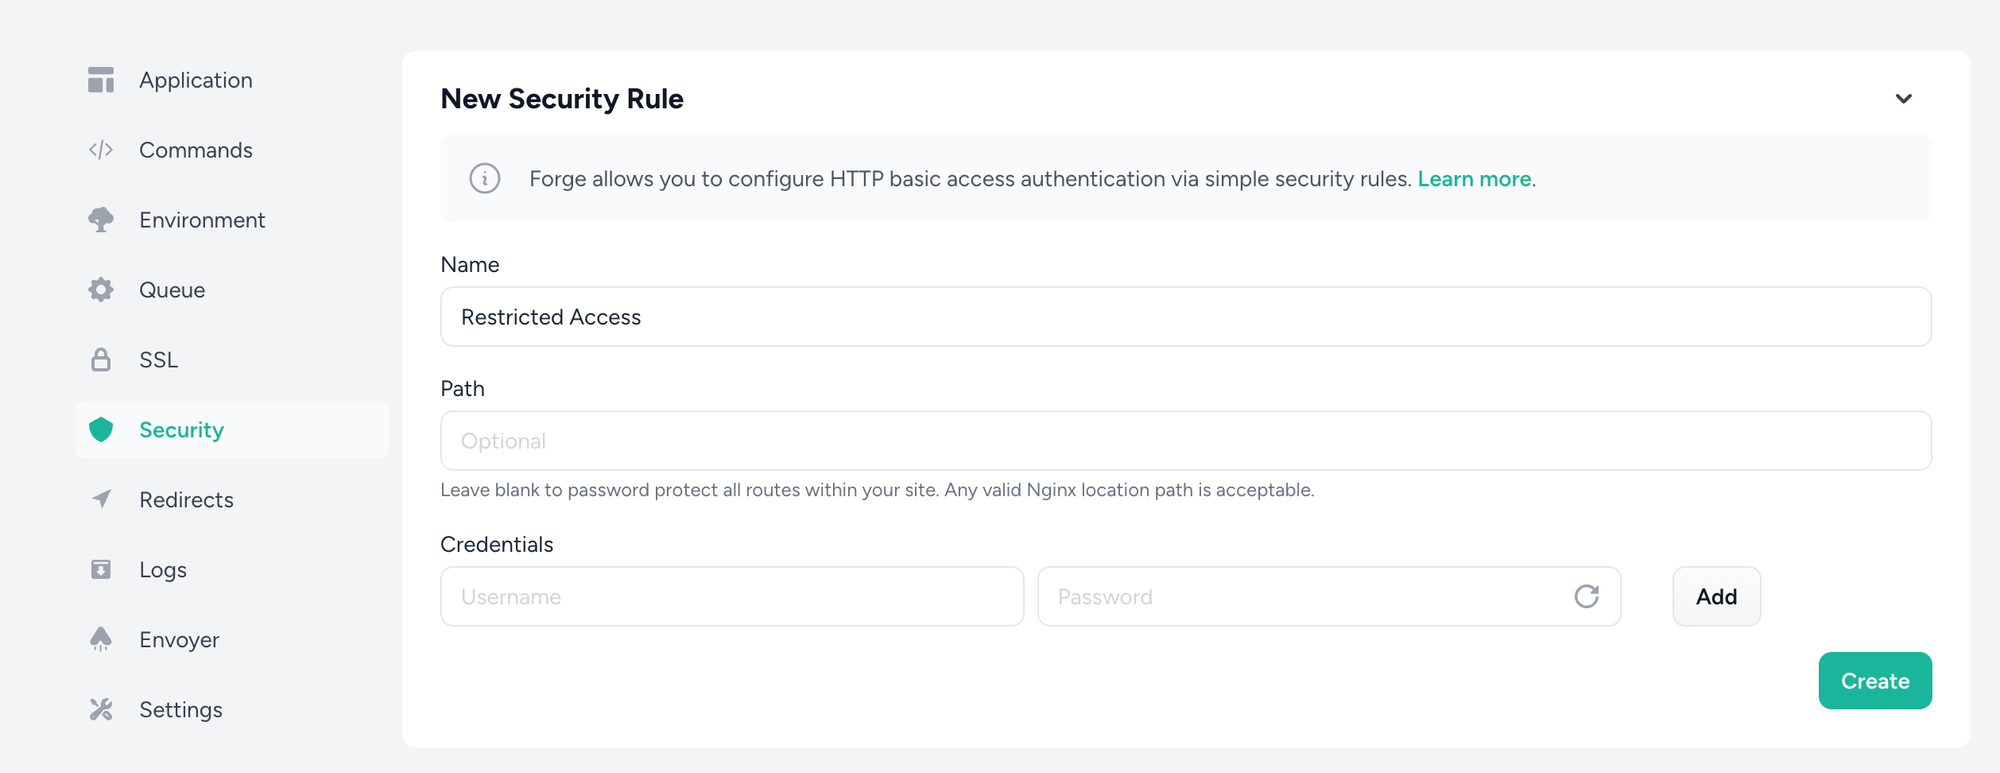
Since keeping your invoicing software is really important, I'm going to add an extra layer of security.
In Laravel Forge, navigate to your site and navigate to the Security settings. I'll leave the default settings as-is and just provide a username and password.
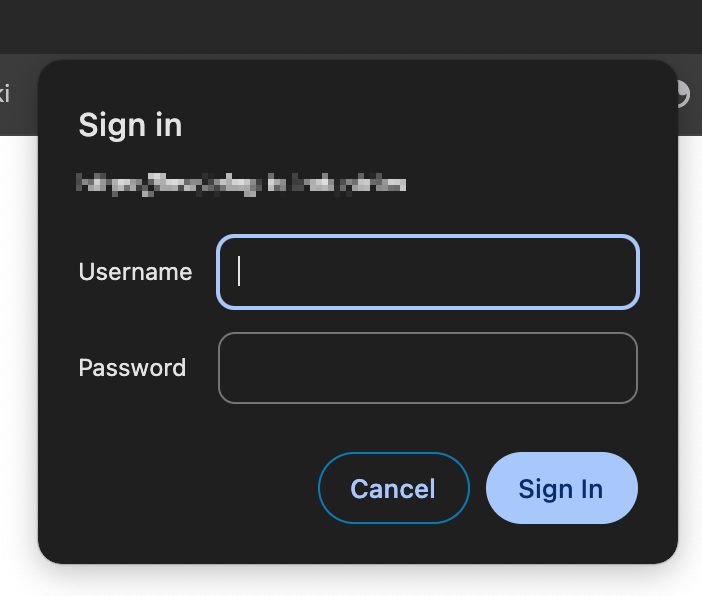
Now when we navigate to the site, we'll have to pass an additional security check:
Setting up Mailgun
I won't go through all the Invoice Ninja settings in this article, but I do want to highlight the email configuration since it's important to make sure that you can receive and send transactional emails.
I often use Mailgun for sending transactional emails, and Invoice Ninja offers support for Mailgun out-of-the-box.
In the Invoice Ninja Settings, go to Email settings and choose 'Mailgun' in the Email Provider dropdown. This will add additional inputs to the screen, like Secret, Domain and Endpoint. You'll be able to get all these settings when setting up the domain in Mailgun. You can paste your sending API key in the 'Secret' input.
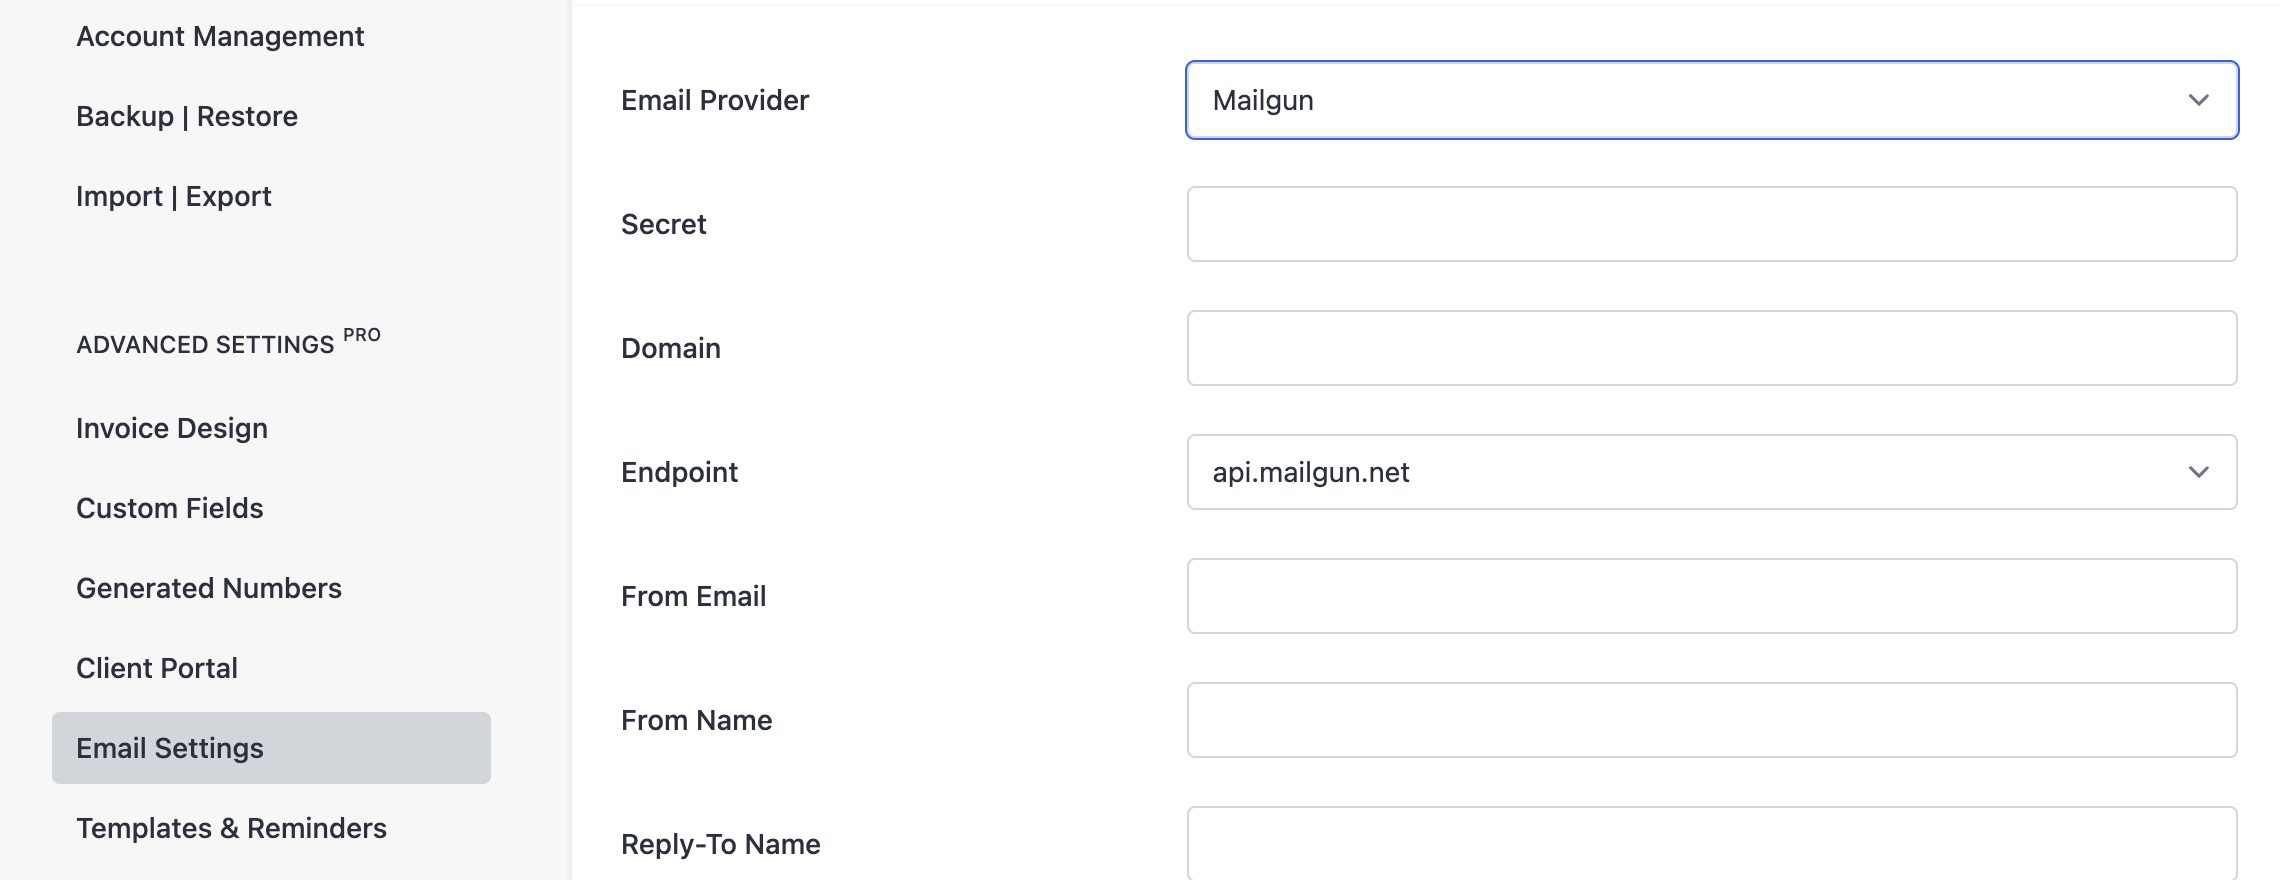
If you're using the European Mailgun server, make sure to change the Endpoint to api.eu.mailgun.net (otherwise your emails won't arrive).

Now create a sample invoice and use the 'Email invoice' button to test out the email configuration.

Don't forget your back-ups!
You don't want to lose your invoices, so I'd suggest at least daily back-ups. If you generate multiple invoices daily, you could maybe set up hourly database back-ups with Laravel Forge Business.