How to migrate a WordPress website to Digital Ocean with Laravel Forge
If you're currently using shared hosting or paying way to much for managed hosting because you think that hosting your own WordPress website is too hard, then this guide is for you!
In this guide, I'll migrate a WordPress website that's now on a managed webhost (Kinsta to be precise) to it's own Digital Ocean droplet. Kinsta is great, but expensive and managed hosting can definitely be overkill for certain projects. I also don't want to go back to shared hosting, because it feels... wrong. Running your own WordPress servers is a great learning opportunity. Let's get started!
Getting the web files from your old server
You could connect with (S)FTP and simply drag and drop all the files in the www or public folder to your computer, but it would take a long time to download (and upload) all these single files. It's a better idea to first connect with SSH, create a zip of all the files, download the zip, upload the zip to the new server and unzip it there.
Create an archive
Connect with SSH to your old server. Use the cd command to go the the directory with all the WordPress files. This is usually the "public" or "www" folder. Make sure that you enter the folder, this will save you a step further on.
Now run the following command to create a zip archive of all the files (and directories) in the current directory.
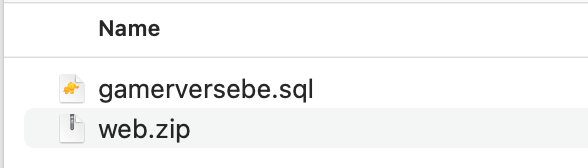
zip -r web.zip .The -r means 'recursive' will make sure that the zip also includes all the subdirectories and it's files. The web.zip is the name of the archive, this could be anything. The last dot refers to the destination. In this case, we want to include all the files and directories of the current folder (so all the WordPress files that are in the public of www-folder).
Downloading the archive
When that's done, you can connect to your server with SFTP and download the archive to your computer.
On Mac, I like to use Transmit, but you could also use Filezilla or Cyberduck.
Don't extract the archive yet!
Getting an SQL dump from your old server
Another thing we need before we can nuke the old server, is an SQL dump of your database. Most webhosts provide you with a web interface like PHPMyAdmin where you can easily create an export, but you could also do it through TablePlus or with a CLI command.
Creating the new server
On Laravel Forge, create the new server and make sure to add your SSH key so you can connect to the server. Also create a site. This will usually have the same domain as the website on your old server.
Create a database and user
On Laravel Forge, create a new database and a new user. If you want to make it yourself easy, you could use the same database name, username and password, but it's never a bad idea to refresh your existing security credentials.
Importing the SQL dump
Laravel Forge doesn't provide you with a web interface for your MySQL database, so you'll have to use another client or run the import through the CLI. I usually use TablePlus.
On the Laravel Forge databases page, you can simply copy the connection URL. In TablePlus, click on the plus icon and choose 'Import from URL'.
Paste the Laravel Forge URL and proceed. Now you'll have to update the database username, password and database name. Test the connection and if every field lits up green, it's time to connect.
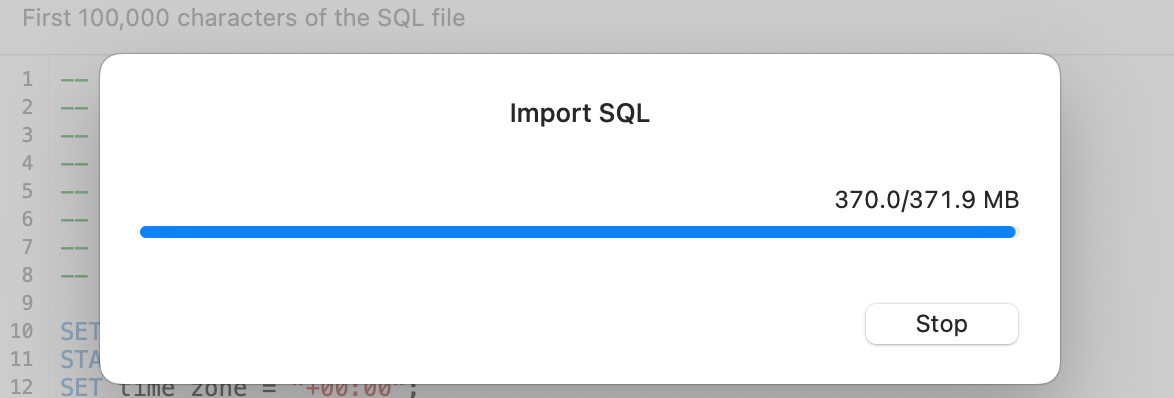
Now, click File >
It can seem like it's stuck when the process is almost done, but resist pressing 'Stop'! Just let it run until the import windows disappears.
Uploading the archive
To upload the archive with the web files, use a client that supports SFTP. I like to use Transmit on Mac. Connect with your server and open up the folder that's named after your newly created website and open the 'public' folder. Remove the existing index.html file.
Now simply drag and drop your archive to this location.
Unzip the archive
When the upload has finished, it's time to connect through your server through SSH. Open up a terminal and connect with your server. Navigate to the public directory of your site, and run the following command:
unzip web.zipThis will uncompress all the files. Remember that I told you to create an archive from all files inside the public folder and not an archive from the public folder? This is where it saves you a step. Otherwise you'd end up with /mywebsite.com/public/public
Not a huge issue though, you'd just have to move all the files in the second 'public' folder to a higher level:
mv public/* .This command will move all the files in public/* to the current directory, so make sure you're in the right place!
Update the wp-config
Now it's time to update the wp-config.php file so that it points to the new database. If you used the same databasename and user credentials, this step may even be optional.
You can update the wp-config through your client (Filezilla, Transmit, Cyberduck, etc) or on your CLI with nano.
Test the website
Before pointing the DNS records of your domain to the new server, it's a good idea to test the site.
We'll have to update our hosts file, so our computer doesn't use the DNS records of the nameserver of our domain, but the records that we specifiy in the hosts file. This way, we can tell the computer "Hey, when I navigate to this domain in my browser, don't look up the IP address of the server through the DNS records of the domain. Instead, I'll simply tell you the IP of the server to connect to".
On Mac, you'll open up terminal again and you use the following command:
sudo nano /etc/hosts
In this file, move all the way to the bottom and add the IP of your new server followed by a space and the name of your site. Do the same thing for the www-variant. So it would be something like this:
192.168.0.1 gamerverse.be
192.168.0.1 www.gamerverse.be
Now, press CTRL + X and type 'y' to save the file. When that's done, we need to refresh our DNS cache to make sure that the browser redirects us to the new server instead of the old server.
sudo killall -HUP mDNSResponder
Now if you visit the site, you'll be the first one to visit in on the new server! You could make sure of this by updating the name of your website (in the wp-config file).
When everything looks good, it's time to update the DNS records.
Update the DNS records
Time to update the A-records of your domain so that it points to the public IP of your server. You can also first create a reserved IP on Digital Ocean. This IP isn't directly tied to a droplet, which means that - if you want to move the site to another droplet again - you can simply now assign the reserved IP to the new droplet so that you don't have to update your DNS records again.